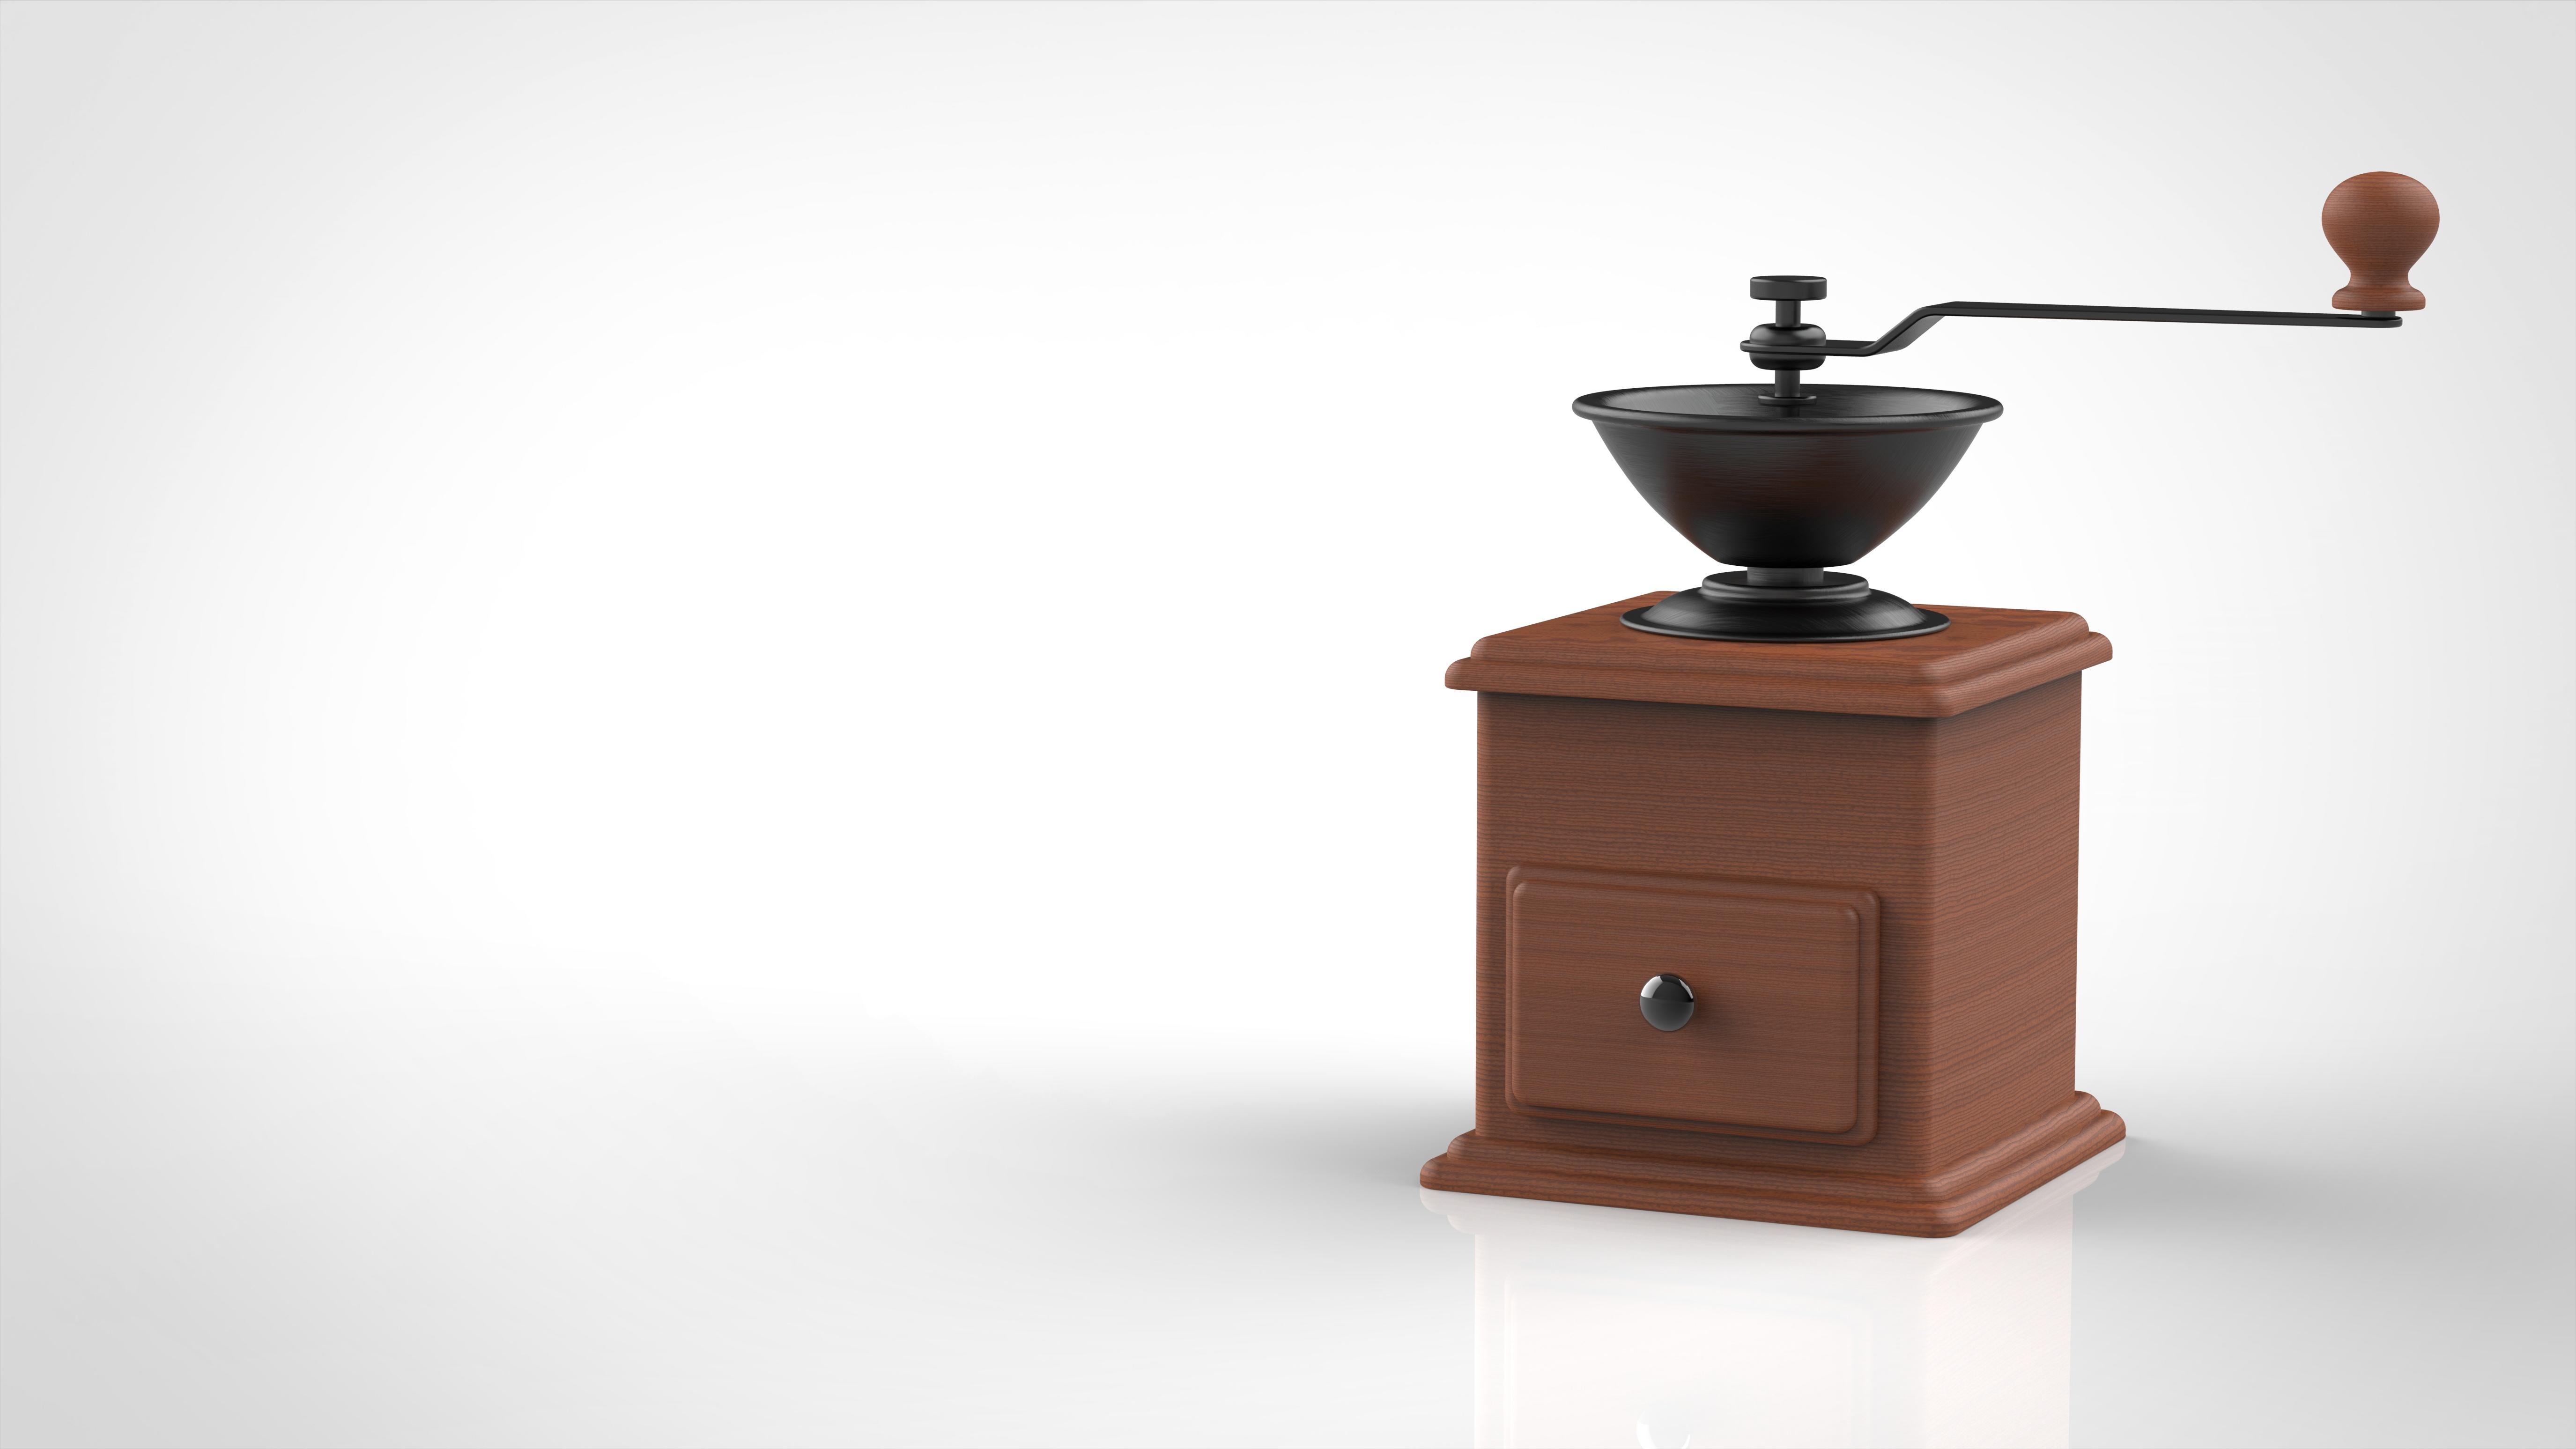
Cleaning and Disassembling Your Coffee Grinder in Japan | Hand-Crank and Electric Methods
Cleaning and Disassembling Your Coffee Grinder in Japan | Hand-Crank and Electric Methods
Cleaning your coffee grinder in Japan doesn't have to be complicated if you know the right approach. Before your morning cup, even when a hint of the previous dark roast lingers, a quick brush around the burrs makes a noticeable difference in flavor clarity.
Cleaning your coffee grinder in Japan doesn't have to be complicated if you know the right approach. Before your morning cup, even when a hint of the previous dark roast lingers, a quick brush around the burrs makes a noticeable difference in flavor clarity.
This guide is designed for anyone using either a hand-crank or electric grinder in Japan, distinguishing between routine cleaning after each use and periodic disassembly cleaning based on usage frequency (roughly every 1–3 months). It helps you confidently identify which parts should never be water-washed without confusion.
The key to preventing flavor degradation and clogging in electric grinders lies in a two-step approach: daily brush cleaning (2–4 minutes; about 1 minute if done efficiently) and periodic disassembly maintenance tailored to your model. The safest way to decide if a part is water-safe is to check the manufacturer's instructions rather than guessing based on material appearance.
Why Cleaning Your Coffee Grinder Matters
Cleaning a grinder isn't just about keeping it looking neat. The fine powder and bean oils left behind after grinding oxidize over time and gradually affect the next batch of beans you process. Dark roasts are particularly prone to releasing surface oils, which cling to the burrs and grinding pathways, leaving noticeable flavor traces. If your coffee tastes heavier or has an off-note despite using fresh beans, it's worth suspecting residual powder inside the grinder before you blame your brewing technique. The difference between light and dark roasts is significant, and oily beans show cleaning effects more obviously.
Another critical issue is clogging from fine powder and chaff. The hopper, discharge chute, burrs, and (for electric models) the outlet ports are the main cleaning targets. When these areas accumulate fine powder, grind consistency suffers and output becomes inconsistent. Electric motors experience extra strain, and hand-crank handles feel heavier. In other words, cleaning isn't just about flavor—it also ensures smooth operation and prevents equipment failure.
From my own experience, even using the same beans with the same recipe, a quick brush around the burrs before grinding noticeably smooths the powder flow. When I pour water during drip brewing, the drawdown feels natural, and the bed doesn't feel artificially clogged. The flavor doesn't change dramatically, but the extraction process stabilizes, making it easier to dial in your target taste.
That said, you don't need to fully disassemble every single day. In practice, the most sustainable approach is to focus on dry cleaning with a brush or cloth after each use, then add periodic disassembly cleaning based on volume and roast level. Daily maintenance—simply brushing the hopper, discharge chute, and burr area—takes just 2–4 minutes and delivers noticeable rewards for the effort.
Before You Clean: Identifying Water-Safe vs. Water-Unsafe Parts
Quick Reference Table by Material
The biggest mistake people make when deciding what to wash is assuming "it looks sturdy, so it should be safe." Grinders combine wood, metal, ceramic, and glass, and the same material can have different treatment needs depending on its role. I follow this basic rule: don't water-wash wooden bodies or most metal parts. Wood absorbs moisture, causing swelling, warping, or cracking. Metal corrodes easily if water settles in screw holes or seams.
However, some ceramic burrs and glass containers can be water-washed—though material name alone doesn't determine this. Removal method and joint construction matter too. Safety requires checking both material and structure. As a rule, always prioritize manufacturer guidance over assumption.
Here's a practical breakdown for typical home grinders:
| Part / Material | Water-Wash Guidance | Main Reason |
|---|---|---|
| Wooden body | Basically no | Expansion, warping, cracking, finish damage |
| Metal body, handle, discharge chute, screws | Basically no | Water lingers in seams and screw threads, causing rust |
| Metal burrs | Basically no | Moisture promotes rust and dulls cutting edges |
| Ceramic burrs | Context-dependent | Rust-resistant, but mounting and surrounding parts need separate judgment |
| Glass discharge chute / container | Context-dependent | Glass itself washes easily, but caps and connections need caution |
| Plastic hopper / caps | Context-dependent | Some designs allow washing, but watch for static electricity and thorough drying |
I once accidentally water-washed a metal discharge chute and saw rust spots emerge overnight despite thinking I'd dried it thoroughly. Water trapped in threads and folded edges is stubborn. Since then, I've limited metal parts to dry-cloth wiping. Appearance cleanliness matters less than protecting materials—doing so keeps your grinder pleasant to use for longer.
💡 Tip
For uncertain parts, brush and dry cloth work better than water. Most grinder soils are powder-and-oil blends, and cleaning science shows that approach depends on soil type. For home grinders, avoiding residue and incomplete drying matters more than aggressive washing.
Guide to Coffee Grinder Care for Beginners! Frequency and Why Cleaning Matters - Coffio
To enjoy freshly brewed coffee at home, you need a grinder. Being able to grind at your preferred timing is convenient
coffio.netComplete Drying Standards and Steps
The following drying checklist is based on practical experience. If your manufacturer provides drying instructions, follow those instead.
Complete drying means no visible water droplets, no cool dampness when you touch it, no shiny residue in screw holes or recesses, and no color change when pressed with cloth. I often angle glass containers and the backs of ceramic burrs under light to confirm.
The procedure: after brief running water, drain thoroughly, wipe gently with soft dry cloth, then air-dry in a well-ventilated spot. Rushing reassembly traps moisture inside. If unsure about reassembly order, keep photos handy. Small parts like washers are easy to lose during drying, so organize by location.
Electric grinders require extra care here. Beyond keeping water away from the housing, humidity lingering around discharge ports and connection points causes powder to stick and flow poorly. While daily cleaning takes 2–4 minutes, waiting for water-washed parts to dry takes much longer. That's why limiting water-washing to clearly labeled water-safe parts only, used briefly, is more practical.
Removing Oil Without Water: Dry-Cleaning Tips
Grinder soil is mostly powder, which brushes remove well, but oils from dark roasts can leave a slick film. Rather than reach for water to solve this, thorough dry cleaning works better and protects wood and metal. Oil comes off gradually through repeated soft cloth wipes after removing visible powder first.
The trick: don't scrub hard initially. Pressing cloth onto remaining powder just spreads it and feels stickier. First clear loose powder from the hopper, discharge chute, and burr area with a brush. Then wipe gently in circles with your cloth, and the oil gradually transfers out. For narrow grooves, use cloth edges or brush edges followed by cloth support.
From my experience, even after dark roasts, a few cloth wipes restore a smooth feel to the discharge chute. Water-washing seems faster, but including dry-time and rust risk, dry brush-and-cloth combinations actually take less total effort and feel safer.
If oil still concerns you, actively using detergent is unnecessary for home grinders. Preventing residue matters more than raw cleaning power. If daily wiping doesn't keep up, that's a signal to increase disassembly frequency or adjust bean selection—gentler for both flavor and equipment.
Routine Cleaning Steps for Every Use [Hand-Crank and Electric Grinders]
Tools You'll Need and How to Choose
Daily cleaning centers on a grinder brush, soft cloth, and optional air duster. You don't need much beyond these for the dry-cleaning approach, which is simpler than constantly worrying about water-safety and is more sustainable.
A handy brush size is roughly 19cm total length with 6cm bristles—long enough to reach the hopper bottom and tight burr areas without struggling. I prefer softer, more flexible bristles over stiff ones; they move powder without scratching metal. The discharge chute and hopper interiors benefit from cloth contact, but the burrs really need a brush.
Your cloth should resist lint; tissues shed fibers that end up clogging grain pathways. An air duster is a secondary tool for stubborn fine powder rather than a daily staple. As noted in various guides, the core is brush-and-cloth, with air duster as optional backup. Use it in ventilated areas—outdoors or over a sink—so stray powder doesn't settle around your kitchen.
How to Care for Your Coffee Grinder
Coffee Compass by Nanbanya
nanbanya-coffee.comStep-by-Step: The 1-Minute Post-Grind Routine
Fixing an order prevents confusion. Both hand-crank and electric grinders share the same inspection points—though with electric, always ensure the power is off and unplugged before touching anything.
- Empty remaining beans from the hopper.
A few beans often stick to the walls; get them out so yesterday's flavor doesn't seep in. Loose powder on hopper walls brushes down easily enough.
- Empty the discharge chute and wipe it with soft cloth.
This one step matters more than you'd think. Since I started wiping the discharge chute immediately after grinding, I notice much less "flavor from last time." Flavor clarity improves and muddiness decreases in the final cup.
- Brush the burr area.
This is your maintenance priority. Gently pay the powder around the burrs—not with force, but with soft strokes to lift powder away. Avoid scratches by letting bristles do the work.
- Clean the discharge port (electric models).
Electric grinders accumulate powder here easily, so brush the port and outlet toward the exit. A little cloth pressure from outside while brushing inside prevents scattering.
This routine is short but impactful—especially after dark roasts or aromatic beans. The next cup feels noticeably better. For deeper context, coffee-bean storage also affects flavor persistence, so keeping your storage setup tidy pairs well with grinder cleanliness.
Minimizing Powder Scatter
One reason cleaning feels tedious is cleaning the powder that flies around during cleaning itself. Smart technique and location choice make a huge difference. When brushing, use short, gentle strokes toward you rather than wide sweeps. Keep the hopper and discharge chute low—over a sink or countertop—and powder stays put far better than brushing in open air.
For electric grinder discharge ports where powder clumps easily, position a cloth or catcher below before brushing. Holding light pressure with cloth outside while brushing inside reduces airborne scattering. These small habits cut the psychological burden of cleaning significantly.
💡 Tip
Use air duster short, intermittently rather than long bursts. Keep the nozzle at safe distance to avoid pressure damage and condensation. Short pulses work better anyway.
Brush-first, then air-duster-finish leaves less scattered mess than jumping straight to the air duster. This layered approach, which you'll find referenced in Japanese coffee forums, keeps indoor cleaning manageable while protecting your grinder.
Coffee Grinder Maintenance: Is Not Washing the Right Approach?
Buchi-Umai!
buchi-umai.jpDisassembly Cleaning for Hand-Crank Grinders
Preparation: Photography, Grind-Setting Notes, and Workspace Setup
Successful hand-crank disassembly hinges less on removing parts than on documenting before you take anything apart. My first disassembly worried me most at reassembly—"Was that washer facing this way?"—and smartphone photos saved me. Now my rule is: photograph, then disassemble.
Shoot your grinder from multiple angles: top, side, handle-side, adjustment area, and inside after removing the discharge chute. Include both wide shots and close-ups of small-parts overlaps so reassembly stays clear. Previous guides emphasize remembering the original configuration; for hand-crank models, this one step is huge. Having both full-view and detail shots helps recreate the arrangement.
Next, record your current grind setting. For stepped adjusters, note how many clicks from zero. For stepless, note the rotation amount, angle, or any reference mark. Paper notes or photo annotations both work. Reproducible grind settings matter hugely if you track recipes, and this record prevents flavor surprises after cleanup.
Choose a workspace with minimal hidden-part risk—a white cloth or tray underneath helps small items stay visible. Screws, washers, and springs vanish if they roll, so organize them by disassembly location (handle area, adjustment zone, central-axis region, etc.). This compartmentalization makes reassembly much faster.
Easy Coffee Grinder Cleaning Method Explained!
www.100mv.comDisassembly: Top-to-Bottom Sequential Removal / Small-Part Storage Tactics
Disassemble top-down in visible order to avoid confusion. Typically: handle, lock screws/adjustment knobs, upper-housing parts, center-axis area, burr-adjacent pieces. Remove one part at a time, photograph the exposure, and place each in a pre-designated spot. This methodical pace actually moves faster than rushing.
The critical detail here is washer order and orientation. Thin metal discs look similar but differ in curl and inner diameter—roles vary. Flat and spring washers often alternate, so photograph the moment you expose them. As documented in detailed disassembly posts, careful parts management and photography make reassembly nearly stress-free.
Arrange parts in removal order from front to back so the path back is obvious. Avoid dunking parts in water at this stage; stick to dry brushing or targeted cloth/cotton-swab touch-ups for specific soil spots. Soaking wood or metal parts makes drying and reassembly harder than dry cleaning handles.
💡 Tip
Separate parts by area rather than dumping everything together. Identical-looking washers become location records that guide reassembly.
I Disassembled and Cleaned a Kalita Classic Grinder
rptz3
note.comDry Cleaning and Finishing: Burr Undersides and Bearing Areas
With parts separated, brush, soft cloth, and cotton swabs lead the cleaning. Focus on burr undersides, center-axis roots, and bearing recesses—where powder clings most. Fine dust here seeps into your next grind if left alone.
Use your brush by lifting powder gently—not pressing the bristles against burr edges, but stroking them along grooves to eject powder. The aforementioned 19cm brush with 6cm bristles reaches tight spaces and works from both hopper and opposite sides. View the burr underside at an angle under light; shadows reveal any remaining dust.
Bearing areas and screw threads clean up with cotton swabs and cloth edges. Oil-stained residue might tempt you to wash, but staying dry first is safer. Scientific cleaning separates oil-stain and solid-dust approaches, but home-grinder priority is ingredient preservation over raw cleaning power. Avoid water on wood and metal fundamentally; if you must spot-treat something, use a wrung-dry cloth only on that one spot.
After reassembly, confirm photo order, return adjustment parts to their noted setting, and verify the zero point by slowly rotating the handle until resistance jumps—just before burrs press together. Then turn back to your previous setting. Check for stiffness or odd sounds by dry-running the empty grinder—smooth operation is the green light.
Sidebar: Zero Point and Screw-Thread Pitch
Hand-crank adjustment works via screw-thread travel. A common setup has a 1.25mm pitch with 6 clicks per revolution, moving roughly 208 micrometers per step. Small movements create big burr-spacing changes—hence recording your zero offset. While exact numbers vary by model, using zero as reference and tracking steps/angles applies widely.
Returning to "roughly" the original position after disassembly often shifts flavor noticeably—extraction suddenly feels faster or makes overly fine grounds and bitter cups. I've experienced this myself: same beans, same water, yet the outline blurred. Retracing my steps showed the grind setting had drifted. Your pre-disassembly photo and note prevent this. That single image and comment anchor your taste adjustments and let you pick up where you left off, not start over.
Disassembly Cleaning for Electric Grinders
Preparation: Power Isolation, Work Setup, and Tools
The first step with electric grinders is confirming complete power shutdown. Switch off, then unplug from the outlet. Never work on live-current equipment. Touch a grounded metal object briefly beforehand to shed static electricity, which helps fine powder stick less.
Next, identify which parts you're allowed to remove. Hoppers, discharge chutes, and burr units designed for user maintenance have clear limits. Water-safety ranges differ by model, so be guided by the manual's user-serviceable parts. Unclear boundaries lead to hesitation mid-clean, wasting time. Trust only manufacturer-approved disassembly zones.
Tools are simple: brush, soft cloth, cotton swabs as needed. An air duster helps if needed but anywhere you use it scatters fine powder broadly, so work outdoors or over a sink. Never aim water at the body; only documented water-safe detachable parts get rinsed, and brief ones at that. Interior access beyond user-removable zones follows manufacturer instruction exclusively—no exceptions.
Movable-Part Cleaning: Hopper, Burrs, Discharge Port
Cleaning centers on hopper, discharge chute, burr area, and discharge port. Electric grinders especially suffer from discharge-port clogging, a major flavor and usability drag. Seemingly-clean ports can hide deep fine-powder deposits that gunk up next use. Carefully brush from both the port entrance and exit, working gently. Soft brush strokes are better than aggressive scrubbing.
Hopper and discharge chute: brush their corners and seams, then wipe gently with soft cloth. Burr-unit access (if allowed): brush not just burr-face surfaces but also outer burr perimeter and counter-burr recesses where powder collects. After dark roasts, wet-stuck fine dust hides—angle and light help you spot it.
For discharge ports, use short intermittent air-duster pulses if needed, from safe distance. Gently brushing from inlet and outlet works well. The moment discharge resistance drops, you've succeeded; coarser powder now flows smoothly, and timer runoff speeds up.
💡 Tip
Place paper under discharge ports when using air duster to see powder volume clearly. The output is finer than expected, so outdoors or well-ventilated spaces suit this step better.
Internal-Unit Handling: Manufacturer-First Decision Framework
Draw a clear line: where does user maintenance end and internal hardware begin? Hoppers, discharge chutes, and burr units are one category (user-serviceable); motors, circuit boards, wiring are another (off-limits unless explicitly approved). Clean the former thoroughly; don't peek into the latter unless instructed.
This distinction matters because poor discharge or powder retention often traces to user-accessible parts, not internal depths. Detailed disassembly yields no added benefit if the shoal issue is port clogging or burr-mount dust. I've found that thorough user-zone cleaning resolves most symptoms; if it doesn't, consult the manual or contact support rather than opening sealed sections.
Water-risk logic applies here too: moisture inside the housing invites electrical hazard and corrosion. Washable attachments are clearly labeled; for anything else, follow manufacturer guidance exclusively. This principle protects your equipment and removes guesswork from the process.
Reassembly Mistake Prevention Checklist
Reassembly Confirmation Points
Where disassembly cleaning succeeds or fails is at putting it back together correctly. Fuzzy reassembly creates grind-setting drift, handle-resistance weirdness, discharge-chute misalignment. I reverse the disassembly order while referencing my photos—full wide-shots plus close-ups of critical overlaps guard against mix-ups. Washer orientation and position matter hugely.
Organize small parts by source-location, not piled together. Earlier I mentioned a compartmentalized tray: "handle area," "adjustment zone," "center-axis region." This alone eliminates the "one-leftover-washer panic" I used to have. Part-position becomes the actual record.
During reassembly, count and confirm orientation of screws and washers. Several fastening points? Tighten each slightly rather than torquing one fully first. Gradual, even seating prevents binding.
Once reassembled, no leftover parts remain? Discharge chute sits flush, hopper locks home, handle or burr unit sits straight? Final checks here catch misalignment before use.
Zero-Point Alignment and Setting Recovery
Post-reassembly, find your zero point—burrs just kissing, resistance spike imminent. Slowly turn toward this spot and record it. Then reference your pre-disassembly note and dial back to your usual setting. Skipping this step means reprofiling your grind from scratch; doing it right lets you resume immediately.
A photo of the adjustment position before disassembly prevents this entirely. Grind-setting tiny shifts with just a few washer or screw turns, so tangible records (position photos, rotation counts, angle notes) serve as reassembly anchors.
Dry-Run Verification: Sound, Feel, Powder Drop
Before loading beans, spin empty for a few seconds to catch assembly errors. Listen for odd noises—scraping, grinding, friction? Feel for unusual resistance, vibration? Watch powder drop (if any old dust remains) for smooth chute behavior. Smooth action = good reassembly; any oddity suggests checking photo-guided placement.
Hopper wiggle? Discharge-chute slop? Burr unit off-center? Catch these now. A quick test-grind of a few beans confirms behavior: does powder fall naturally, get stuck, or scatter unevenly? Reassembly success shows in normal drop; reassembly errors reveal themselves immediately.
If something feels off, stop. Recheck photo order and part positions against the tray layout. Forcing operation with doubts usually makes things worse. The photos you took will clarify what's misaligned.
Cleaning Frequency and Flavor-Change Indicators
Usage Frequency × Roast Level Frequency Guidelines
Cleaning cadence depends on how much and what roast level you grind. Separate routine dry-cleaning from periodic deeper cleaning. Routine targets hopper, discharge chute, and burr area—include electric grinder discharge ports. Monthly neglect of these zones causes flavor drift, especially when switching roasts; fine powder from yesterday's dark roast muddies today's light roast clarity.
Deeper cleaning timing: every 1–3 months for typical home use, though this is a reference point. Heavy daily users or dark-roast devotees should shorten to weekly-leaning intervals; lighter occasional users with mostly light roasts can space it out. Dark roasts release more surface oil and powder, sticking longer than light roasts.
Rough guides: daily user + dark-roast-heavy = lean toward weekly; daily user + mid-roast-focused = monthly-ish; light occasional use = monthly with flexibility. Roast-level depth affects this heavily, so observe how much residual powder and oil cling post-grind. Thick cling = shorten intervals. Light residue = current spacing works.
If you're unsure of your roast levels, pairing this with light/medium/dark roast selection fundamentals helps you understand why, say, your grinder's weekly schedule exists.
Rediscover Your Coffee Grinder's Appeal! From Selection to Maintenance
Your grinder is a vital tool for enjoying coffee. Here we explain roles, features, and care
kyowacoffee.co.jpFlavor-Change Signal Reference Table: Aroma Carryover / Off-Taste / Drawdown / Resistance
Better than a calendar, taste and behavior signals tell you when to clean. Overlooked signal: last bean's aroma lingering. Example—dark roast grinds well, light roast comes next, but light's brightness feels heavy, roast flavor dominates acidity. This points to hopper/burr residual aroma. The jump-change in roasts shows more obviously when internal dust carries yesterday's flavor. Switching to light after dark makes any carryover obvious.
Off-taste appears clearly, too. Same beans, same recipe, yet a fine grit or slight metallic-edge aftertaste, or muddied sweetness + bitter meld. This trails powder accumulation and aged-dust carry-forward. Grind unevenness particularly raises surface-bitter and underextraction simultaneously because mixed-size particle beds flow unevenly.
Extraction "draw" that's sluggish—unchanged ratios but slow drip, stuck-bed feeling, slow final trickle—points to grinder grime or fine-powder excess. Coffee is aroma-driven, so repeatable benchmarks (water 85–96°C, powder-to-liquid 1:15–1:17) let you isolate mill-side changes from recipe shifts. Locked-in numbers help you distinguish "I changed the recipe" from "the grind changed."
Beyond taste, grinder behavior signals matter. Hand-crank suddenly heavier, sticky at one point, gritty rotation? Electric motor duller, powder output slow, discharge port stutters? These hint at internal fine-powder clogging. Powder volume might equal today's output, but timing shifts suggest early blockage.
Signals summarized:
| Signal | Likely Grinder Culprit | Resulting Taste/Extraction Change |
|---|---|---|
| Previous bean aroma persists | Hopper/burr/chute residual dust | Blunted roast transition |
| Off-taste: grit, bitterness, muddy | Old dust, fine-powder buildup | Turbidity, dryness, weight |
| Sluggish draw despite same recipe | Fine-powder excess, grind scatter | Slow drip, dense bed, poor flow |
| Hand-crank heavy / Motor sound dull | Burr-path or chute clogging | Resistance increase, output delay |
| Powder output uneven | Discharge-port stall | Inconsistent volume per second |
💡 Tip
To sense cleaning impact, fix bean amount, water temp, and ratio before comparing. Post-clean, aroma assertiveness, liquid drawdown, and finish clarity shift noticeably—you'll feel the difference.
Catching signals early and adjusting cleaning frequency keeps grinder and flavor both stable. Cleaning excellence isn't frequency—it's responsiveness to what your mill tells you.
Common Mistakes and How to Avoid Them
Water and Detergent Trouble Prevention
The rookie error: "Dirt washes away," so broad water-spray follows. For grinders, this backfires. Metal rusts; wood swells and warps. Screw threads, handle axles, and burr rims are deceptively water-retentive—outer surface dries while interior dampness persists. Results include rust spots hours later and musty odors in next brew.
Water belongs only on manufacturer-approved detachable components. Even then, brief rinsing, thorough drainage, and complete air-drying precede reassembly. Hurrying reassembly traps humidity inside.
Detergent is rarely needed. Grinder soil is mostly powder and oil; while cleaning science says approach depends on soil type, household grinders prioritize residue prevention over cleaning power. Detergent remnants affect aroma disproportionately—coffee carries flavor vividly, and soap aftertaste is noticeable. Daily dry-brushing beats one risky wash.
Brush selection matters too. Stiff brush bristles scratch fine plastic and paint. Softer bristles that bend slightly are gentler and still move powder effectively. Scrubbing hard actually spreads dust; gentle repeated strokes work better, especially in winter when static cling worsens.
Disassembly and Reassembly Without Confusion
The real disassembly fear: "Will I reassemble correctly?" Rushing makes this worse. Photos solve this—photograph before disassembling, then reference photos during reassembly. Wide and close-up shots both help. Part order matters as much as count.
If anything feels forced mid-reassembly, stop. Screw seating wrong, handle torque off, adjustment-dial backlash odd? These are clues. Return to photos and reconsider part placement. Electric grinders especially deserve caution: sealed-zone access is limited, so early caution saves trouble later.
💡 Tip
Photos of part overlaps before disassembly act as your reassembly manual—invaluable insurance.
Powder Scatter and Static-Electricity Management
Air duster convenience tempts, but strong continuous bursts scatter powder everywhere, undoing cleanup. Short, brief pulses at safe distance control dust better. Cold air can condense moisture on metal, adding risk.
Winter static electricity sticks fine powder to plastic hoppers and chutes. Before starting, touch a grounded faucet lightly to shed body charge—this genuinely reduces re-adhesion. Brush more gently on dry days; short, soft strokes lift rather than scatter powder.
Work in outdoor or sink-space during air-duster use. Indoors, powder settles on surfaces far from your grinder, undoing hygiene gains.
Start Simple and Progress Thoughtfully
For first steps, focus on post-grind brush cleaning alone (roughly 2–4 minutes; maybe 1 if efficient). Beginners who attempt perfect disassembly immediately often falter; building the daily habit comes first. Check your manual for water-safety, practice a light brush routine, and disassembly waits for later.
Disassembly timing: watch for flavor dulling, aroma carryover, device resistance increase, or monthly use milestones. When these appear, take time for photo documentation → unhurried disassembly → dry brush-and-cloth cleaning → careful reassembly with photo checks. No rush, no corners cut.
Finally, reread your grinder's manual once more before tackling deeper maintenance. Manufacturer guidance always trumps general advice. Your tool's specifics matter most.
Related articles:
- Coffee bean storage and selection guide
- Coffee bean roast-level selection guide
A home roaster with 12 years of experience, handling everything from sourcing green beans to designing roast profiles and testing extraction recipes. Certified Coffee Instructor (Level 2), he cups over 200 varieties annually and delivers recipes focused on reproducibility.
Related Articles
Kalita vs Melitta: 1-Hole or 3-Hole Dripper?
Melitta and Kalita are both classic wedge-shaped drippers, but choosing between them comes down to more than just hole count. Brew a consistent weekday morning cup with Melitta's single-pour method, then spend your weekend dialing in flavor with Kalita's multi-pour approach — that rhythm fits a lot of coffee drinkers.
Top 5 Manual Coffee Grinders in Japan | Selection Guide and Comparison
Manual coffee grinders are quieter than electric models, more affordable, and highly portable—ideal for coffee lovers in Japan. However, they grind limited quantities at a time and are best suited for slowly enjoying one or two cups, so choosing based on popularity alone often leads to frustration.
6 Best Home Espresso Machines by Type
If you're not sure which home espresso machine to buy, the clearest path is to split your options into three types — fully automatic, semi-automatic, and capsule — then narrow down to the machine that fits how you actually live. Chasing specs rarely helps. Start instead with two questions: how much time can you spare in the morning, and how much do you want to control your latte?
Hario V60 Characteristics and Brewing Method | Why It's Popular and Basic Recipe
The Hario V60 remains a standard in Japan because its conical shape, single large hole, and spiral ribs transform the pouring method itself into flavor creation. The flexibility to brew either light and delicate or thick and sweet flavors makes it beloved in both home kitchens and professional coffee shops.